I was offered the opportunity by Inventables to receive an X-Carve cnc router in exchange for making a video review of it with my own honest opinions. I thought it would be fun and a good way to stay caught up on recent technology without actually having to buy it. I have some background in electronics, and have been curious about micro-controllers and their capabilities so it seemed like a good opportunity too good to pass up. I have also worked in the past operating a large 3-axis cnc milling machine in an industrial setting machining large aluminum extrusions - let me just say that the construction of the X-carve is very light-duty in comparison! However, I have no plans to make heavy cuts in aerospace alloys, so the X-carve should be rigid enough for my uses as a plotter-like machine that can laser-engrave drawings directly onto wood.
The laser I bought for use with the machine is a diode laser of the type that is used as a dvd burner, the maximum output is 2.8 watts with a wavelength of 445nM. It works great for engraving fine line-work into wood, or even cutting a few materials such as paper, tape, wood veneer, or craft foam sheets. I obtained this laser from DTR Laser Shop with the better G-2 lens, non-modulating driver, and a heavy duty aluminum heat-sink that allows continuous operation. It is powered by the same power supply as the X-Carve through a small adjustable voltage regulator that is rated to output the required 2 amps at a voltage between 4 and 6 volts DC. The output of the laser is variable within this range acting as a non-burning pointer at 4 volts to an impressive and very thin engraving beam at 6 volts. The beam width at the focal point is roughly .010". The ability to focus the beam into such a small point is the key to being useful for engraving. The laser module gets a little bit warm after continuous use, the heat sink is definitely needed to keep the laser cool enough.
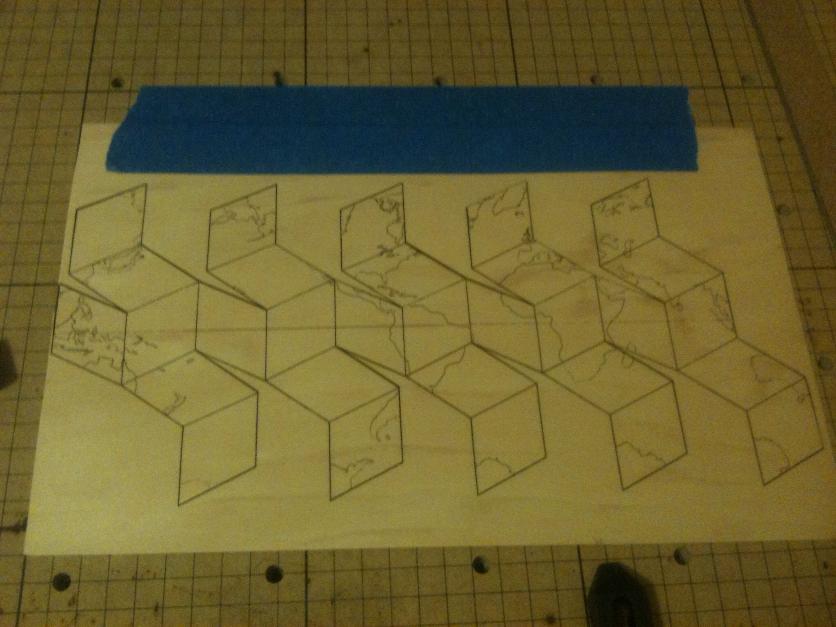
My first cnc project on the X-Carve is a baseball-sized polyhedron globe made of wood veneer which is about .020" thick (.5mm). Feed rate is fast for engraving land masses, medium for hinge lines, and slow where the net is cut out from the veneer. The polyhedron "net" is about twice as long as it's width and can be scaled up or down in grbl settings. An Exacto knife was used in places where the laser did not completely cut the veneer in the outline. I think the uneven cutting is due to the veneer not being perfectly flat on the table - need to make a vacuum table to hold it flat and keep focal point on the surface.
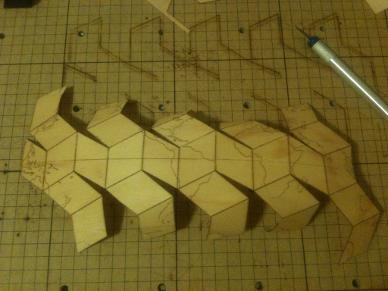
Water is applied to soften the veneer on both sides to allow the hinges to be bent without breaking. Do not try to bend the hinges without water or they will snap. After hinges are bent, flatten the veneer back out and place a heavy book on top to flatten out the curled veneer as it dries.
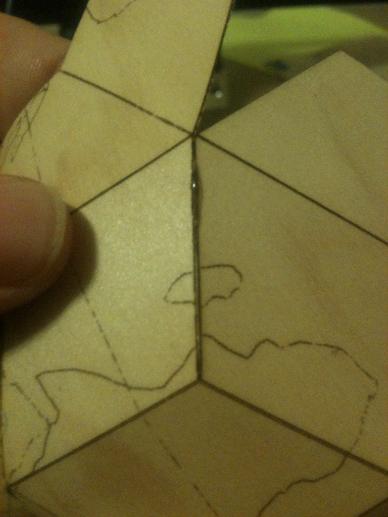
Starting with the joints closest to the equator, apply hot glue to the edge of one side of the joint. Quickly press the matching edge into the glue bonding the edges together. Do not let the veneer overlap, and keep the corners aligned. Hold the joint together and blow on it to cool the glue faster. Do not try to glue more than one joint at a time or you'll end up with a mess.
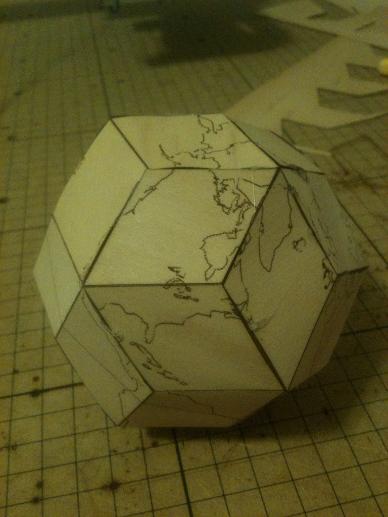
Continue gluing edges together. Be extra careful while connecting the ends, practice the move before applying glue. The veneer polyhedron will feel much stronger - like an egg shell after all the joints have been glued. A piece of tape helps a lot in removing the "spider webs" from the hot glue.
To get a free copy of the g-code program to make your own globe like this, please subscribe here. Subscribing is free and you'll be notified by email of new things happening here on my site. When you subscribe you will get email 1 of 2 asking you to confirm your subscription, then after confirmation there will be another email 2 of 2 with the program. It is rare that I send out more than one or two emails a month to people on my list.