
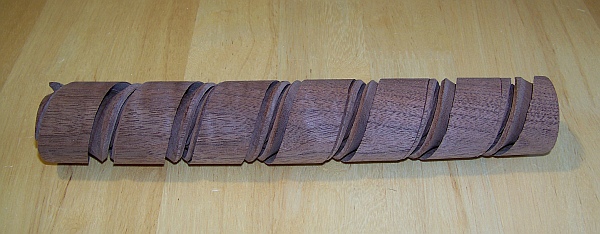
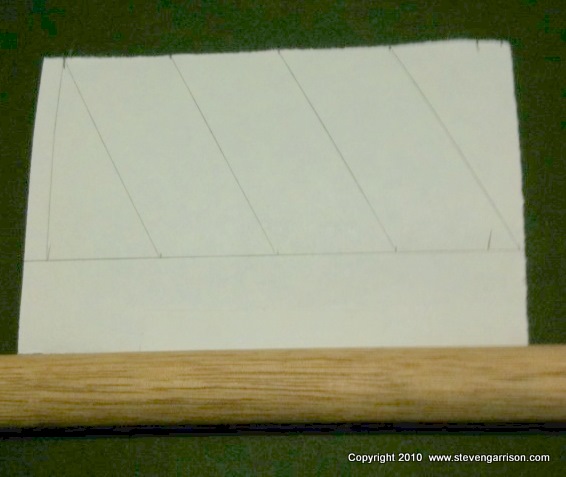
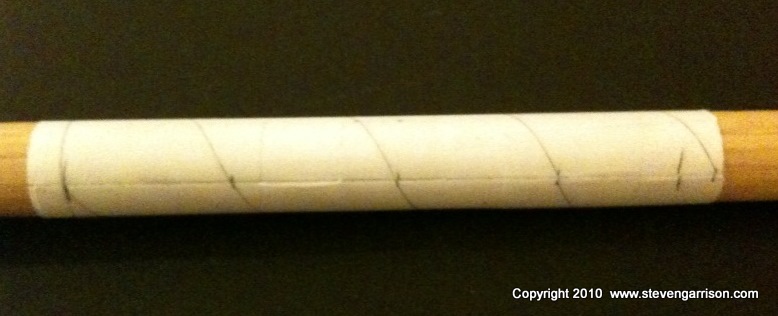
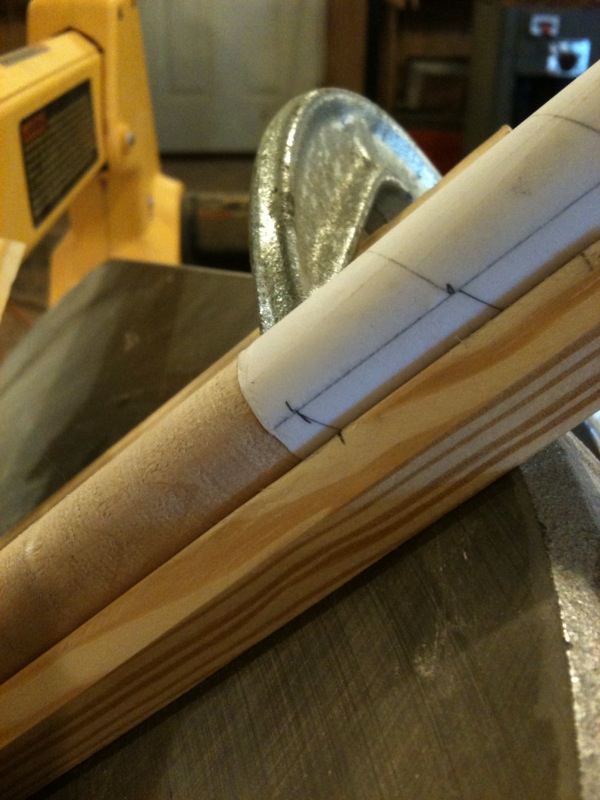
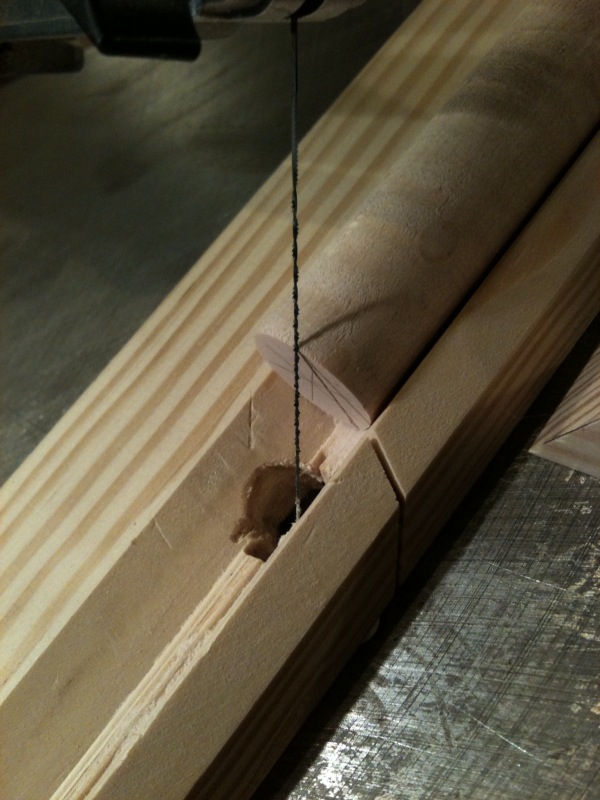
In 2003 I was playing around with my scroll saw with a spiral blade. With the saw table tilted and changing the feed direction of the wood, I found that a random shape could be cut out of a board and still be trapped within the wood. That got my curiosity going and after experimenting a while I wondered what would happen if I twisted a dowel through the blade? I rigged up a fence to keep the center of the dowel a constant distance away from the blade. With the table tilted at roughly 45° to the left and pushing the dowel downhill along the fence I could see that the blade was going to make first contact with the dowel on the top corner and that I would have to twist and push the dowel a distance roughly equal to the dowel diameter before the blade would be cutting through the entire diameter. If I maintained a constant pitch, the two pieces could be separated like a nut and bolt. It was difficult to maintain a constant pitch without anything to go by, but the wider kerf of the spiral blade provided enough clearance between the two pieces that they would usually come apart easier.
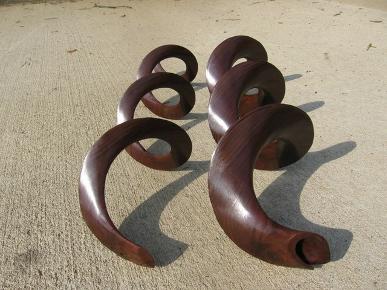
I reasoned that the path of the blade along the surface of the cylinder where the blade entered should be parallel to the path created along the helix where the blade exits the cylinder. With the right combination of pitch and center-line offset, the two paths can be the same path - the blade would enter and exit the wood along the same helix line drawn on the surface. That would cut a piece out from the center of the dowel that looked like some kind of weird drill bit or screw, yet the rest of the cylinder was still intact and the two pieces could be reassembled.
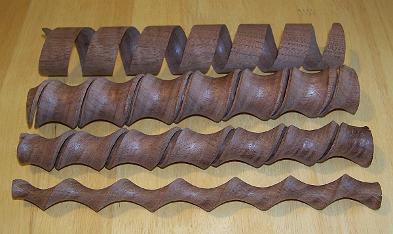
With the center-line of the dowel offset from the blade, the wood in the very center was still solid and not cut. I found that I could make a second cut along the same cylinder cutting closer to the center-line and cut out another helix shape fatter than the first that was hollow. I couldn't hardly believe what I was seeing, and I had to sit down and work it all out on paper - and then Excel to figure out what was going on. It was like something you would see in the last few pages of a thick geometry textbook. The nesting helix shapes are a cross between a helix and a hyperboloid, and it is also a ruled surface. Here is a link to an article written by George Hart about my method.
I have an ebook available that shows you how to make the helix forms using a scroll saw with a table that can be tilted, and spiral blades. Along with the ebook, there is also an Excel spreadsheet that lets you design a helix form graphically by using sliders or scroll bars to adjust the parameters. As you change the parameters the cross-section of the helix form changes in real time. If you choose to make the lathe-like jig, you will need to make the wooden gears for it using either the information in Generating Gears in Wood, or the patterns in the pdf file in the link below. The price of the eBook is $24.99. You can get a discount on your cart total by using a discount code you will receive when you subscribe to my email list.
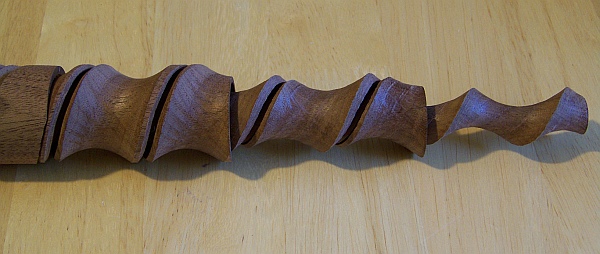
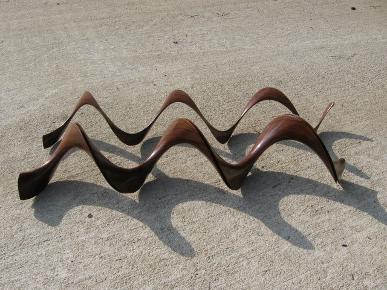
In 2005 I manged to modify my band saw to make it capable of cutting with a homemade spiral blade and made a few larger helix forms that are too big to be made with a scroll saw. The one in this video slides together very easily. I ran into a lot of frustration with the homemade blade because it kept breaking and needed to be soldered back together. I suspect that the band saw wheels were too small causing the blade to fatigue.

|
gears.pdf Size : 95.356 Kb Type : pdf |
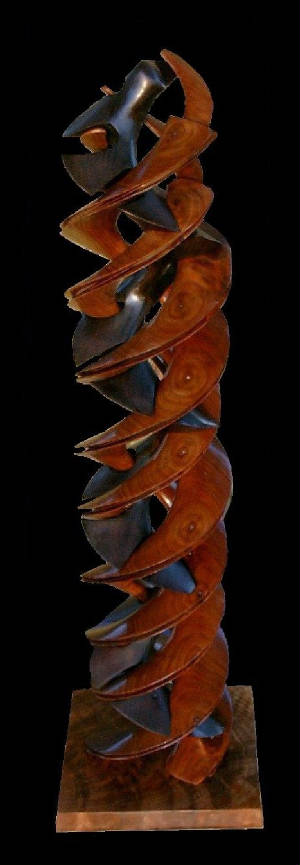
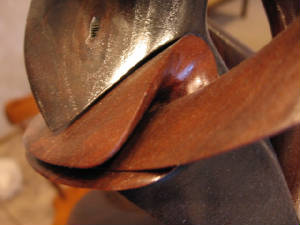
"All Screwed Up" is the title of this helix sculpture that was made in 2005. A total of 7 helices were cut from a large block of black walnut. This video shows how the sculpture is assembled. There are 3 pairs of right-hand oriented nesting helices that are held in place by the ebonized and left-hand oriented helix that contains the center line of the cylinder. Makes me wish I had an abrasive waterjet to play with in my shop to make the cuts with.