2/12/2025 I've got a new website for my work. It is a membership site that has a program where you can design the shape of your own shells in 3D and turns it into a printable PDF pattern. The new site is called WoodShells.com
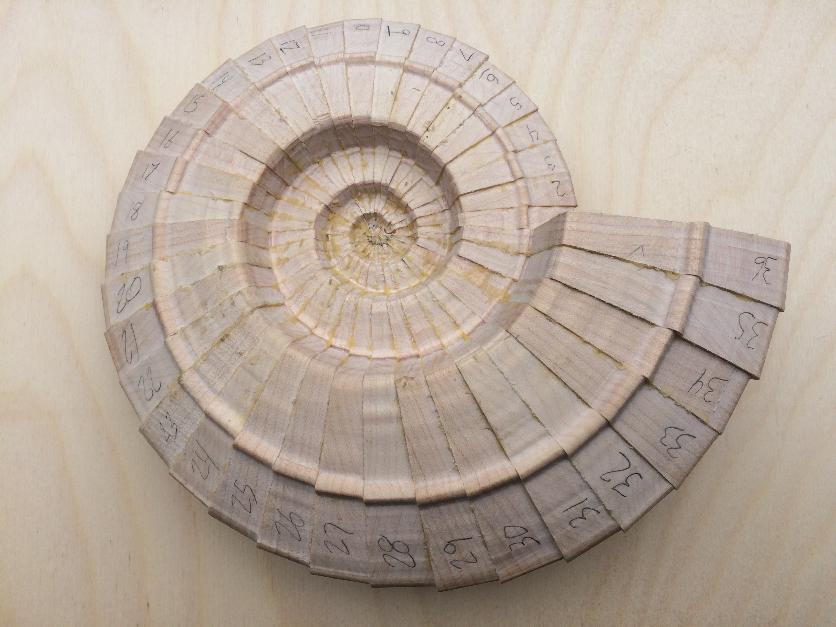
Here is a new method for making shells that opens up many possibilities not possible with the original technique. It is different in almost every way except that both methods require wooden wedges to cut the parts from. This new way uses paper patterns like most other scroll saw projects. The pieces are glued together systematically and then smoothed with shaping and sanding either with rotary tools, or by hand if you prefer. They do look quite intimidating, but I have made it a lot easier than it looks.Watch the videos below, and then get started making your own after you purchase the pdf file which includes patterns and instructions. The patterns are very easy to cut with a spiral blade - you can also use a flat blade, but that will require more shaping because a spiral blade cuts the segments to a shape much closer to the finished shape due to having the table set at a bevel, and having interior corners.
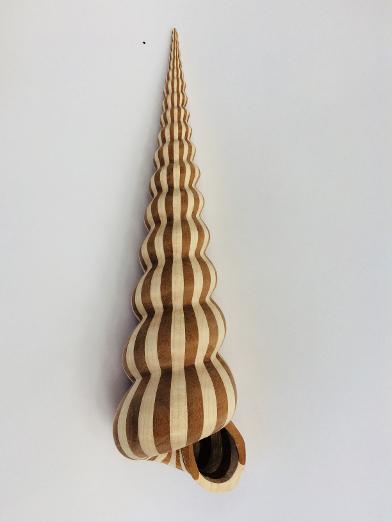
I've had a lot of people asking about the jig used to cut the wedges, and so I have added a video of the new jig at the bottom of this page. This jig can be used to cut wedges that are tapered along the length for flat spiral shells (ammonite), or tapered along the width for conical spiral (conch) shells.
A discount of $5 is automatically applied for additional items when you buy two or more when you leave the discount code field blank.
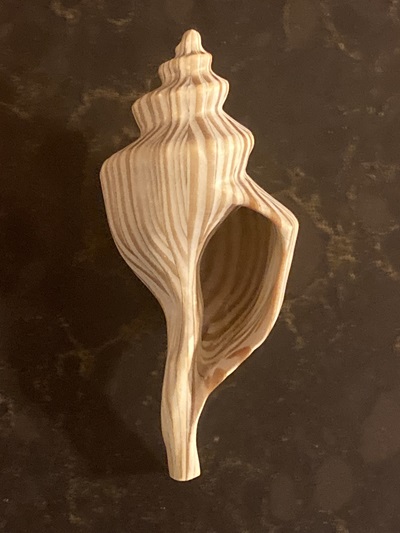
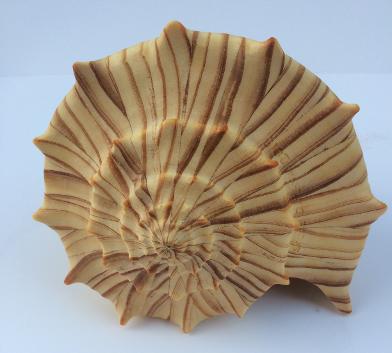
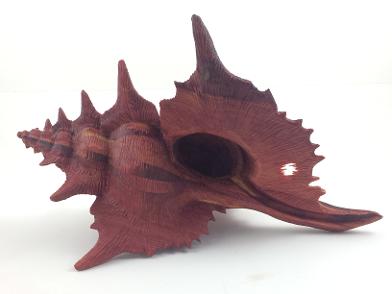
Horse Conch - the biggest gastropod in American waters can reach 24 inches in length. The pattern is for a shell that's 9 inches long, but it can be scaled to the size you want. This pattern is designed to use 16 wedges instead of 24 $20
Here are the instructions for building this shell.
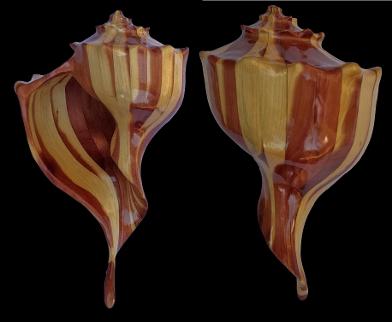
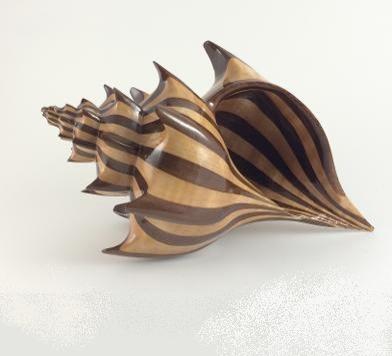
Whelk 2 - The first of a new kind of pattern that is double-sided. Can be made without using a scroll saw by using coping or jewelers saw. See video.
$22
I have put together a PDF with instructions for making the wedge cutting jig as shown in the video below. It uses a home-made vacuum clamp to eliminate the need for hot glue in attaching blanks to the jig. It is free when you subscribe to my email list. If you are already a subscriber but missed the link, just send me an email and I will re-send it to you.