The links below are Amazon affiliate links. I get a small percentage when you use my links without affecting the price you pay. Thank you for your support!
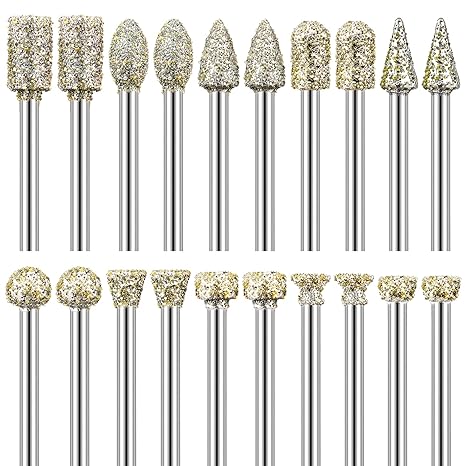
I bought this set of 60 grit diamond bits for my experimental method of inlay. They work great for cutting the recess without being too scratchy. There are two of each size 3, 4, 5, 6, and 8mm. 1/8" shank.
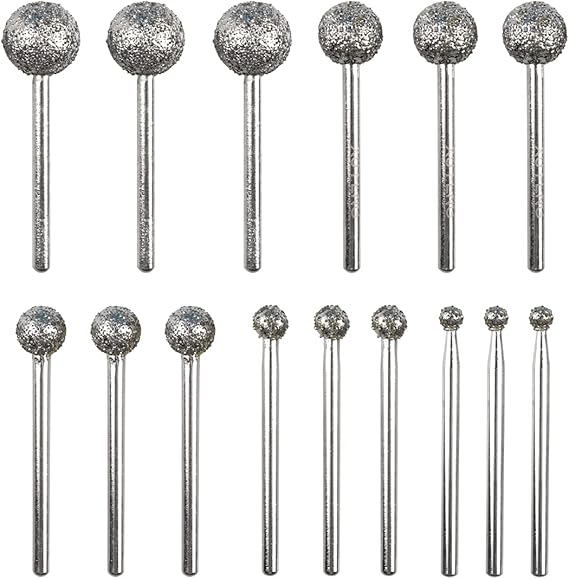
I bought this set of sphere burs with diameters ranging from 4 to 12 mm for inlaying small circles. Coarse grit.
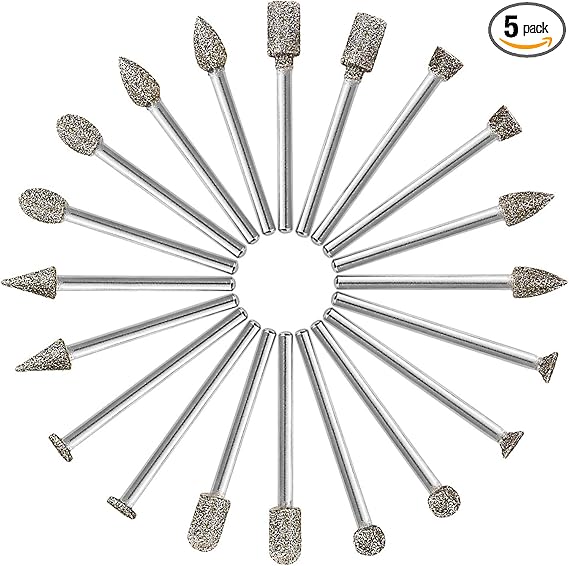
This set of coarse diamond burs has several different shapes.
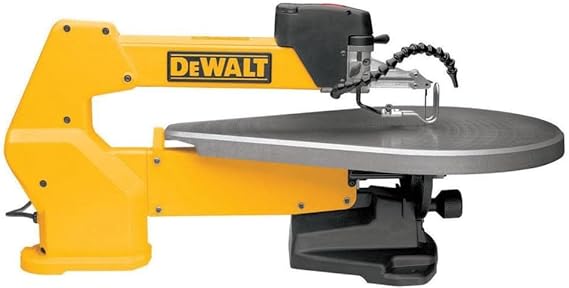
I've been using my DeWalt scroll saw for for about 15 years now.

For power carving with 1/8" or 3/32" shank bits I use a Dremel 4000. It has variable speed up to 35,000 rpm with plenty of torque. The flex shaft makes it nicer for sanding with less weight and bulkiness.
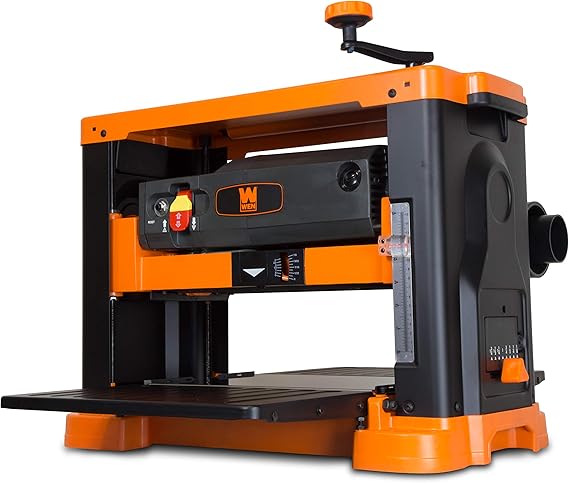
I recently bought the Wen planer. Too soon to have an opinion of it, but the price at the time was better than the competitors.

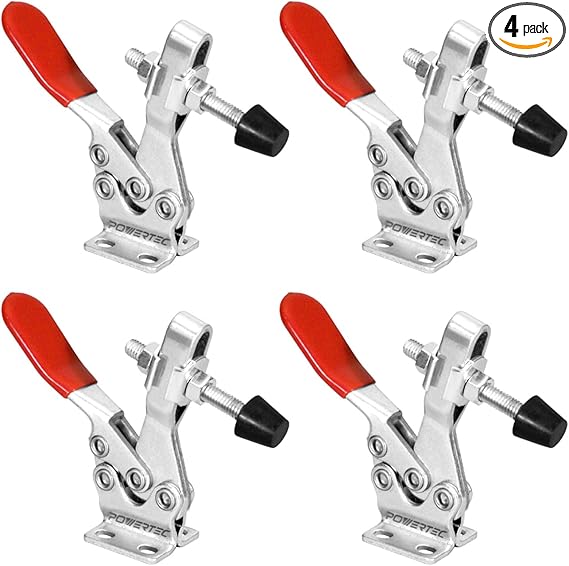
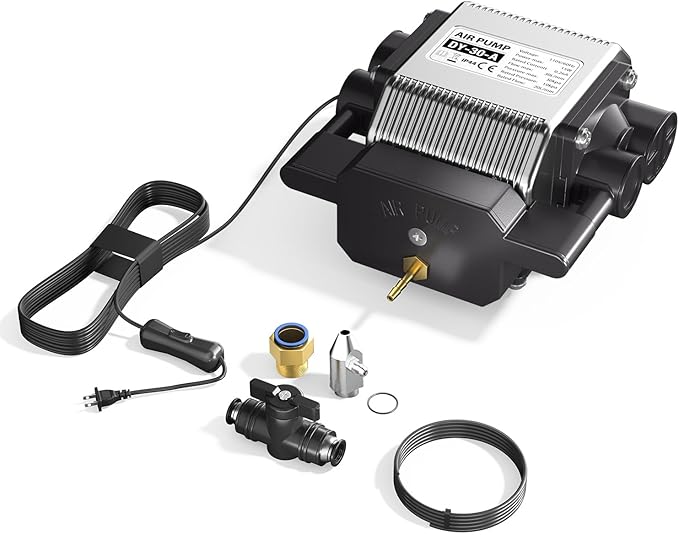
Some of my jigs use a vacuum pump for clamping without obstructions. This is similar to the one I use. It's a good idea to vent the exhaust oil mist out of your workshop.
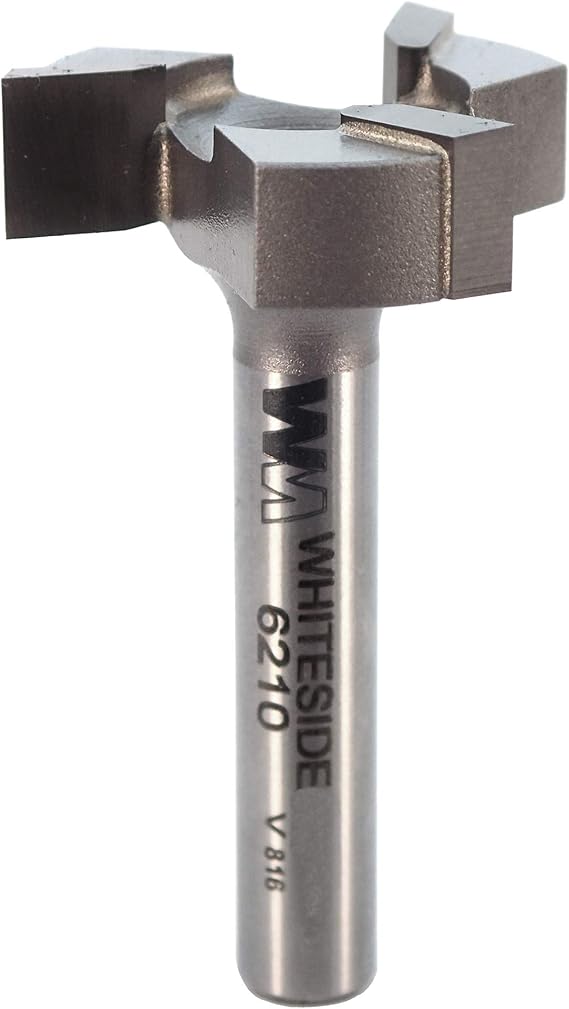
When router-planing wedges, I use a 1/4" shank bit like this. It has a larger diameter than a typical straight or mortising bit.
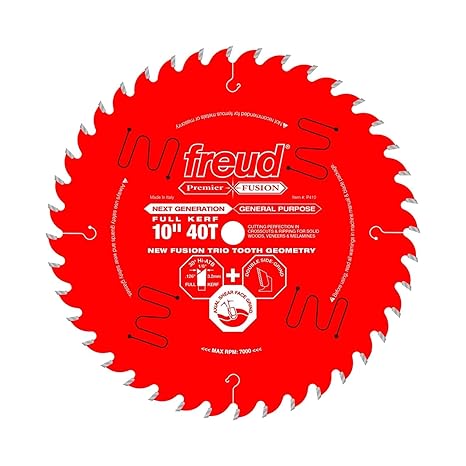
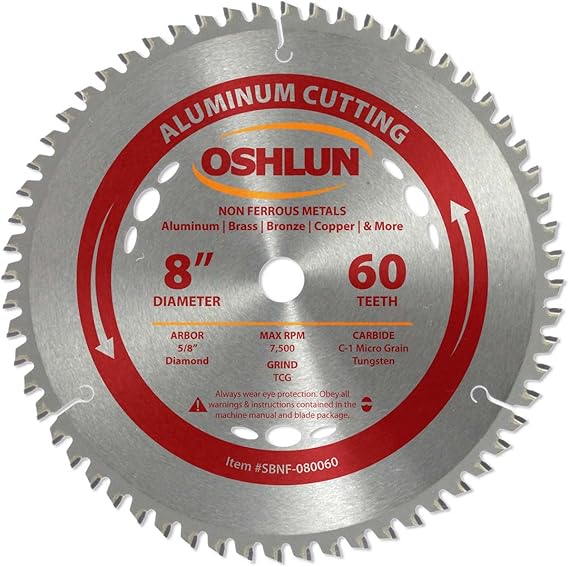
My favorite table saw 10" cross-cut blade is a full kerf Freud Fusion. A full kerf blade makes a more consistent kerf because it is stiffer and much less likely to vibrate than a thin kerf blade.
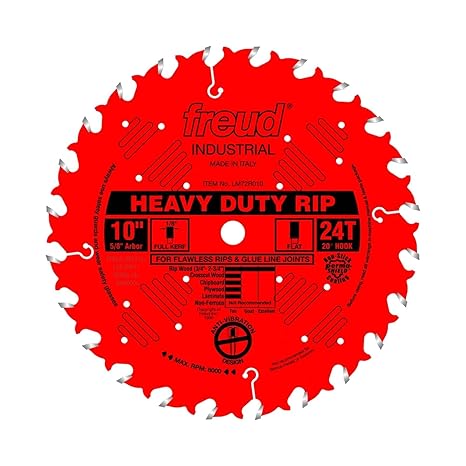
I also use a Freud 10" 24 tooth ripping blade when cutting with the grain.
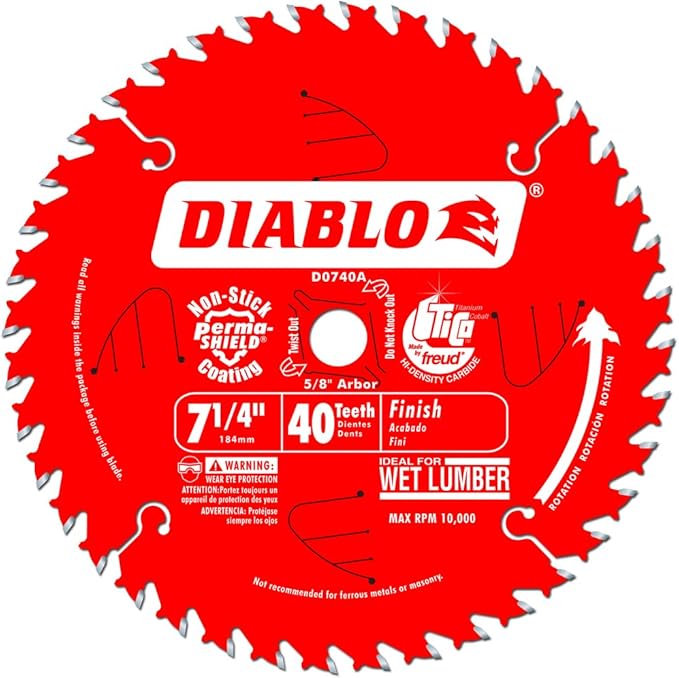
I save wear on my more expensive 10" blades by using this specific 7.25" blade as long as the wood isn't too thick.

I use 1/8" shank burrs for most of my power carving. One of my favorites is this fine Kutzall roto-saw bit.

Ever noticed that larger diameter bits cut faster? This is the largest bit made by Dremel (1.5"), and it works great not just for sawing, but also carving. It is thinner than the roto-saw which makes it very useful for detailing interior corners on individual shell segments. EZ544
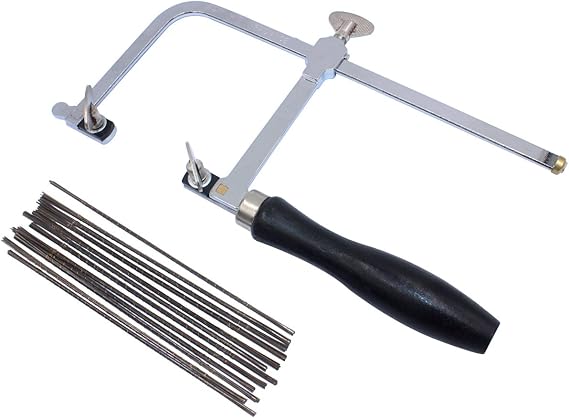
If you want to make the new style shells from patterns, but don't own a scroll saw, you can use a jewelers saw to rough cut the segments from the wedges. Then carve to the lines using a Dremel with the carbide wheels shown above. This saw includes a gross of jewelers blades, but can also use the same spiral blades as a scroll saw.

How do you get a sharp interior corner where the whorls meet on the new style conical shells? Use a file, it will leave a smaller radius in the corner than a folded piece of sandpaper. Nicholson files are the highest quality anywhere, and made in USA.